







Beginner Tips for Taking Better Phone Photos
Your phone camera can capture sharp, colorful, and memorable photos with very little effort. You do not need expensive equipment or advanced technical knowledge to improve your results. A few simple habits can make a noticeable difference.
From cleaning the lens to choosing better light, these beginner-friendly tips will help you take more appealing phone photos wherever you go.
Start With a Clean Camera Lens
One of the easiest ways to improve your photos is to clean your phone’s camera lens before taking pictures. The lens can collect fingerprints, dust, and smudges from regular use. Even a small mark can make an image look blurry, hazy, or lacking in contrast.
Use a soft, clean cloth to gently wipe the lens. Avoid using rough materials that could scratch the surface. Make cleaning the lens part of your routine, especially if your photos often look less sharp than expected.
Pay Attention to Light
Light has a major effect on the appearance of a photo. Before pressing the shutter button, look at where the light is coming from and how it falls on your subject.
Natural light is often the easiest to work with. Try taking photos near a window or outdoors during the morning or late afternoon. These times usually provide softer light than the strong midday sun.
Keep these simple lighting tips in mind:
– Place your subject where the light reaches it clearly.
– Avoid bright light directly behind your subject unless you want a silhouette.
– Use gentle window light for indoor portraits.
– Look for shade on bright days to reduce harsh shadows.
– Turn your subject slightly toward the light for a more natural look.
If a photo appears too dark, move closer to a light source instead of relying immediately on digital brightness controls.
Improve Your Composition
Composition is the way different elements are arranged within a photo. Good composition helps guide the viewer’s attention and makes an image feel balanced.
Use the Rule of Thirds
Many phone camera apps include a grid option. The grid divides the screen into nine sections using two horizontal and two vertical lines. You can turn it on in your camera settings.
Try placing your main subject along one of the lines or where two lines meet. This often creates a more balanced image than placing the subject directly in the center.
Centered photos can still work well, especially when the subject is symmetrical or you want a strong, direct look. The grid is a helpful guide, not a strict rule.
Look for Leading Lines
Leading lines are visual lines that draw attention toward a subject. Roads, fences, paths, stairways, walls, and table edges can all create leading lines.
Before taking a photo, scan the scene for lines that point toward the main subject. Change your position if needed so the lines lead the viewer’s eye into the image instead of away from it.
Leave Some Empty Space
Empty space, sometimes called negative space, can make a photo feel clean and uncluttered. It also helps your subject stand out.
For example, when photographing a person looking to one side, leave space in the direction they are facing. When photographing a bird in flight, leave room in front of it rather than placing it at the edge of the frame.
Keep Your Phone Steady
A steady phone helps produce sharper photos, especially indoors or in low light. Hold your phone with both hands and keep your elbows close to your body. You can also lean against a wall, table, or railing for extra support.
Tap the shutter button gently rather than pressing hard. Some phones allow you to use the volume button as a shutter, which can make it easier to take a steady photo.
For group photos or landscapes, consider using a small tripod or placing your phone on a stable surface. A timer can help prevent movement when you take the picture.
Tap to Focus and Adjust Brightness
Your phone usually chooses where to focus automatically, but it may not always select the right subject. Tap the part of the screen you want to appear sharp. This is especially useful for close-ups, portraits, and photos with several objects at different distances.
Many phone cameras also let you adjust brightness after tapping to focus. Look for a sun icon or brightness slider, then move it up or down to make the image lighter or darker.
Avoid making the photo too bright. Bright areas can lose detail and become plain white. Check the screen before taking the photo and make small adjustments when necessary.
Choose the Right Camera Mode
Phone cameras often include several modes, such as portrait, night, panorama, and slow motion. These tools can be useful, but it is best to understand when each one works well.
– Portrait mode: Creates a softer background around a person or object.
– Night mode: Helps capture brighter images in low light, but your phone must remain steady.
– Panorama: Works well for wide landscapes and large scenes.
– Close-up or macro mode: Helps capture small details from a short distance.
– Standard photo mode: Often works best for everyday subjects and changing conditions.
Try different modes in similar situations so you can see how they affect the final image. If a special mode produces an unnatural result, return to the standard camera setting.
Move Closer Instead of Zooming
Digital zoom can make photos look soft or pixelated because it enlarges part of the image. When possible, move closer to your subject instead.
Some phones have a separate telephoto camera that provides better zoom quality. Even then, check the image before taking it. If moving closer is not safe or practical, use zoom carefully and keep the phone as steady as possible.
Do not worry about filling every part of the frame. A little extra space can be cropped later if the photo is sharp.
Change Your Viewpoint
Taking every photo from eye level can make your images look predictable. Try changing your position to find a more interesting angle.
You could:
– Kneel or lower the phone for a stronger view of a building.
– Hold the phone higher to show more of a table or gathering.
– Photograph a subject from the side instead of straight on.
– Look for reflections in windows, puddles, or mirrors.
– Frame the subject through a doorway, arch, or group of branches.
Small changes in viewpoint can reveal different shapes, patterns, and relationships within the scene.
Simplify the Background
A busy background can distract from the main subject. Before taking a photo, check the area around and behind it. Look for bright objects, clutter, poles, or strong lines that compete for attention.
You can simplify the scene by moving closer, changing your angle, or asking the subject to move. A plain wall, open sky, or softly blurred background can help the subject become the clear focus.
Take Several Photos
Important moments can be difficult to capture perfectly in one attempt. Take several photos while making small changes to your framing, focus, or position.
For moving subjects, burst mode can help you capture a sharp moment. Afterward, review the images and keep only the strongest ones. Avoid saving many nearly identical photos, as they can quickly fill your storage.
Edit With a Light Touch
Editing can improve a good photo, but it cannot fully fix an image that is badly out of focus or poorly composed. Start with small adjustments to brightness, contrast, color, and cropping.
A simple editing process might include:
- Crop the image to improve the composition.
- Straighten the horizon or important lines.
- Adjust brightness slightly.
- Add a little contrast if the photo looks flat.
- Reduce overly strong colors.
- Apply a modest filter only if it suits the image.
Try to keep the result natural. Heavy filters and excessive sharpening can make photos look unrealistic.
Practice by Photographing Everyday Subjects
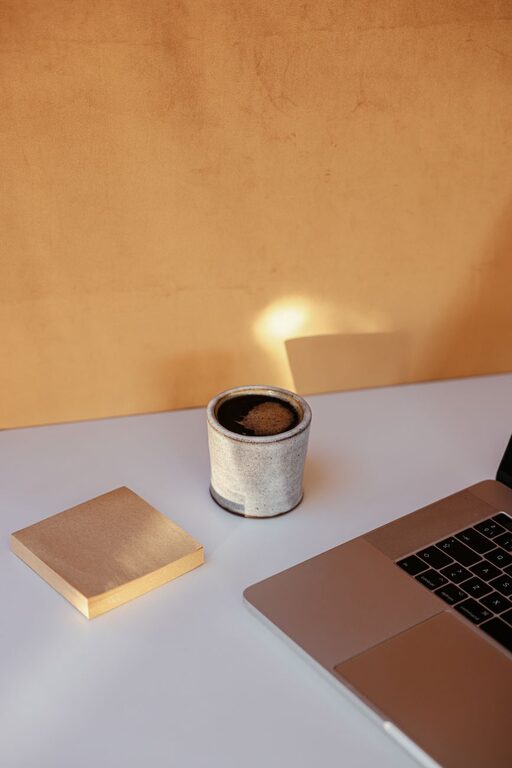
You do not need a special trip or expensive subject to practice. Photograph a cup of coffee, a plant, a pet, a window view, or a nearby street. Try taking the same subject in different light and from different angles.
After each session, review your photos and ask yourself:
– What first attracted me to the scene?
– Is the main subject easy to find?
– Is the image too dark or too bright?
– Could I use a different angle?
– Is anything distracting from the subject?
With regular practice, you will begin to notice light, composition, and timing more naturally. The best phone camera is the one you have with you, and better photos usually come from thoughtful choices rather than complicated equipment.